Heavy Duty Front Disc brake conversion kit Instructions
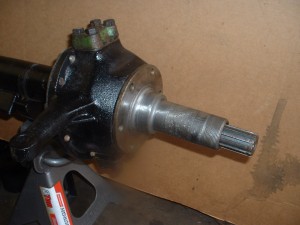
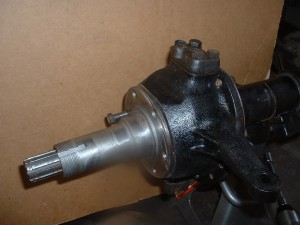
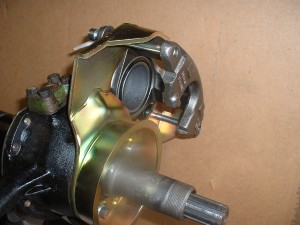
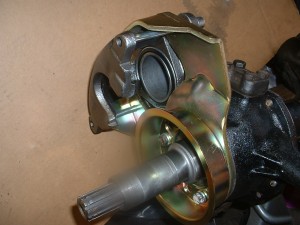
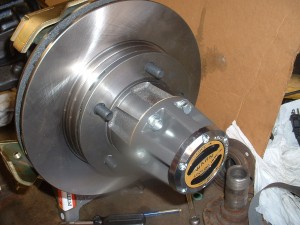
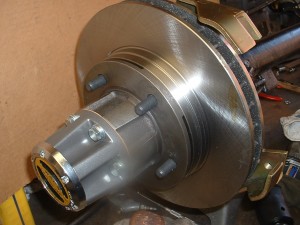
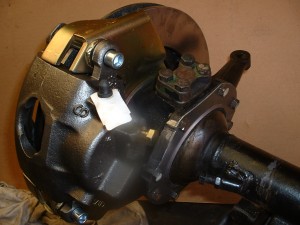
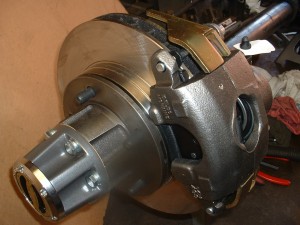
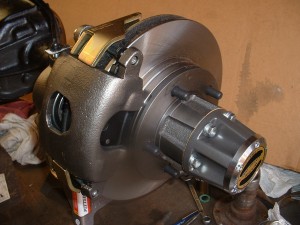
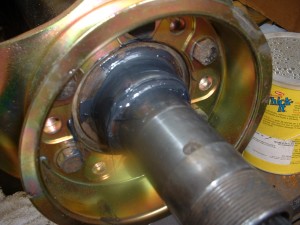
(images of install below)
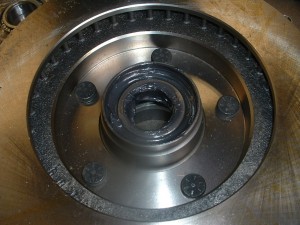
1)Start out by stripping off all of your old drum brake components. That’s right-down to the spindle. Now that you have the hub and drum off, you should find someone who can press the old wheel studs out or you can bang them out with a hammer.
2)Next, place the rotor behind the hub and have the wheel studs pressed through the rotor and into the hub. If you don’t put the rotor behind the hub, your brakes won’t line up with the calipers.
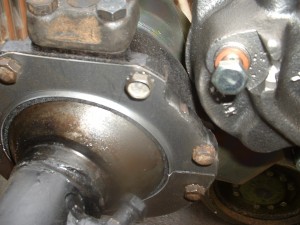
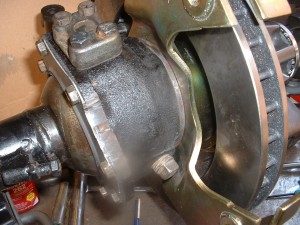
3)Attach the spindle and Chevy Dana 44 caliper mounting brackets with a couple bolts to test for caliper figment. You will need to replace the 12 (six per side) original fine-thread backing plate bolts with ones that are 1-inch long. You could also step up to some studs at this point.
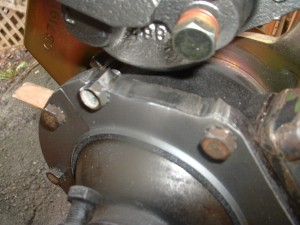
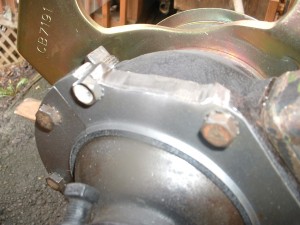
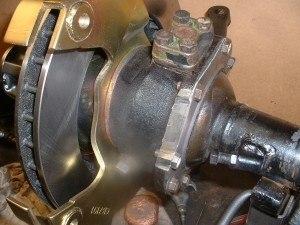
4)In order to provide clearance for the caliper, you will need to grind some material off of the knuckle (arrows). With the caliper mounting bracket on the spindle, you can get an idea of how much grinding will be necessary to fit the caliper. Remember that as the pads wear out, the caliper will move inward because of its floating design. If you don’t grind enough, your caliper may hit the knuckle and render your brakes useless. We ground the fill plug for clearance on this unit, although you could just replace the plug with a flush-mount one, or it may not be in your way at all.
Now you can start grinding the knuckle between the two bolts that are farthest to the back of the knuckle, the area that is exactly in line with, and where the caliper will travel. You don’t have to remove a ton of material, but make sure you have good clearance by periodically replacing the caliper mounting bracket and caliper for test fitting. The caliper brackets will set at positions 10 and 2 of the axle ends (both out towards the rear), leaving the calipers and an upward rear position with the bleeder valve facing up.
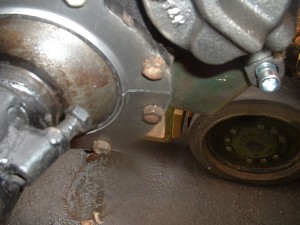
5)Also grind the caliper a little (arrow) to make sure that there will be no contact between it and the knuckle as the pads wear out, but be careful not to grind through the casting.
6)Once you have removed enough material, you can then begin rebuilding your front axle. Now would be a good time to replace those worn-out bearings and seals. Remember to pack the bearings and grease everything.
7)We decided to move the hard brake lines from the axle to the frame. We used a couple pieces of bendable brake line from our local parts store and a set of stainless steel brake lines from Explorer Pro Comp for a Chevy 1/2-ton. We used the metering block from the new Pro Comp rear brake line to split the front hard lines to both sides. Bleed the brakes finally. Check the caliper clearance as the pads wear.
Make sure you have a master cylinder proper to run disc brakes, accompanied by the correct proportioning valve if necessary. On master cylinders, including ours, the larger reservoir goes to the front brakes.
Some Potentially helpful images of the install:

